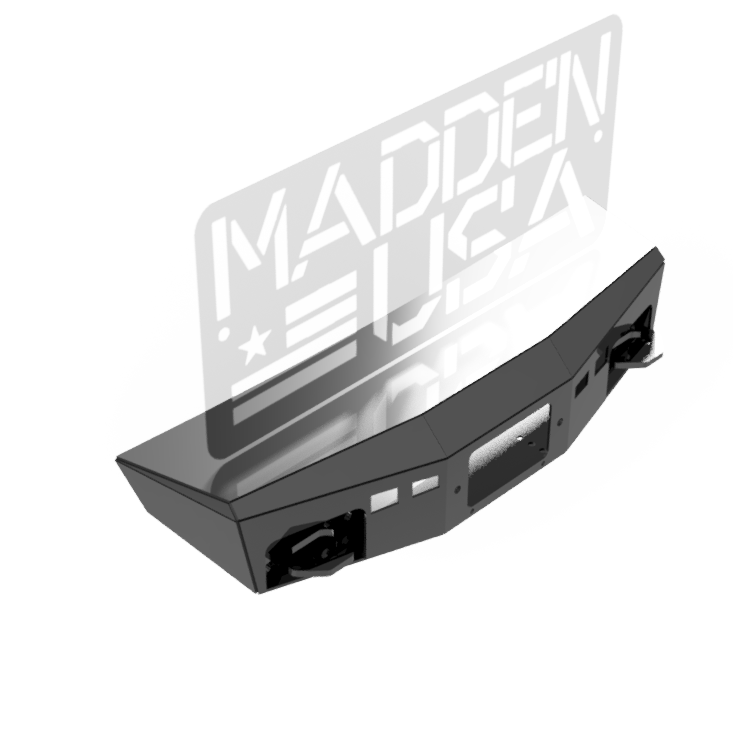
Jeep JK Half Front Winch .dxf files only
Nicely organized, and well named .zip folder with a complete set of .dxfs, available for download after purchase.
Straight Forward assembly. Start with your center “1,2,3 and 4” panels, then build out from there with your parts that will have a left, and a right, 2a, 3a, then, 4a. Build out from there, and you will figure the rest out.
Any bending required, has a relief cut, so no press brake is needed.
3/16” Recommended
Make as many as you want.
Files are not for resale. (Unauthorized sales of files will be pursued)
Extract files from included .zip folder. Part naming system should explain itself in your nesting software.
Any parts numbered “1,2,3,4” are your center panels, that you will build your bumper out from. Only cut 1 of each of these.
Any parts labeled by a number, followed by a letter, such as but not limited to “1a, 3c, 4a” means it should be cut twice. One part for each side.
Use your included center profile jig angle, as an external guide, to start your “1,2,3, and 4” panels, and then build out with your 2a, , 3a, 4a, and so on.